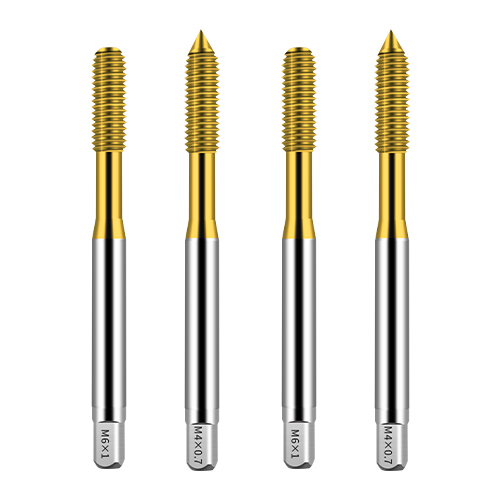
How do you properly use a thread tap to create internal threads?
2025-04-03
Using a thread tap properly is essential for creating precise and durable internal threads. Here’s a step-by-step guide to ensure successful threading:
1. Select the Right Tap
- Choose the correct type of tap (taper, plug, or bottoming) based on your application.
- Ensure the tap size matches the hole diameter and thread pitch.

2. Drill the Hole
- Use a drill bit that corresponds to the tap size (refer to a tap drill chart).
- Ensure the hole is deep enough to accommodate the full thread length.
- Apply cutting fluid to reduce friction and improve thread quality, especially in metals.
3. Start Tapping
- Secure the workpiece in a vise or clamp to prevent movement.
- Hold the tap perpendicular to the hole and begin turning clockwise using a T-handle or tap wrench.
- For machine tapping, ensure the tap is aligned properly with the spindle.
4. Use the Right Technique
- Turn the tap 1 to 2 full rotations forward, then back it off half a turn to break chips and prevent binding.
- Repeat this process until you reach the desired depth.
- For blind holes, use a bottoming tap after starting with a taper or plug tap.
5. Finish and Clean Up
- Remove the tap carefully to avoid damaging the threads.
- Use compressed air or a brush to clean out any metal shavings.
- Test the threads with a matching bolt to ensure proper fit.
Additional Tips
✔ Use a tapping guide for precise alignment.
✔ Apply consistent pressure without forcing the tap.
✔ If resistance is too high, back out and reapply cutting fluid.
✔ For harder materials, consider using a spiral flute or spiral point tap.
By following these steps, you can create strong and accurate internal threads with minimal risk of tap breakage.


